Types of Sliding Cabinet Doors & Their Installation

Embarking on a cabinet door upgrade? Sliding doors offer a sleek, space-saving solution, but choosing the right type can feel overwhelming. Let’s explore the world of sliding cabinet doors, comparing their installation processes and weighing their pros and cons. The journey to your perfect cabinet doors starts here!
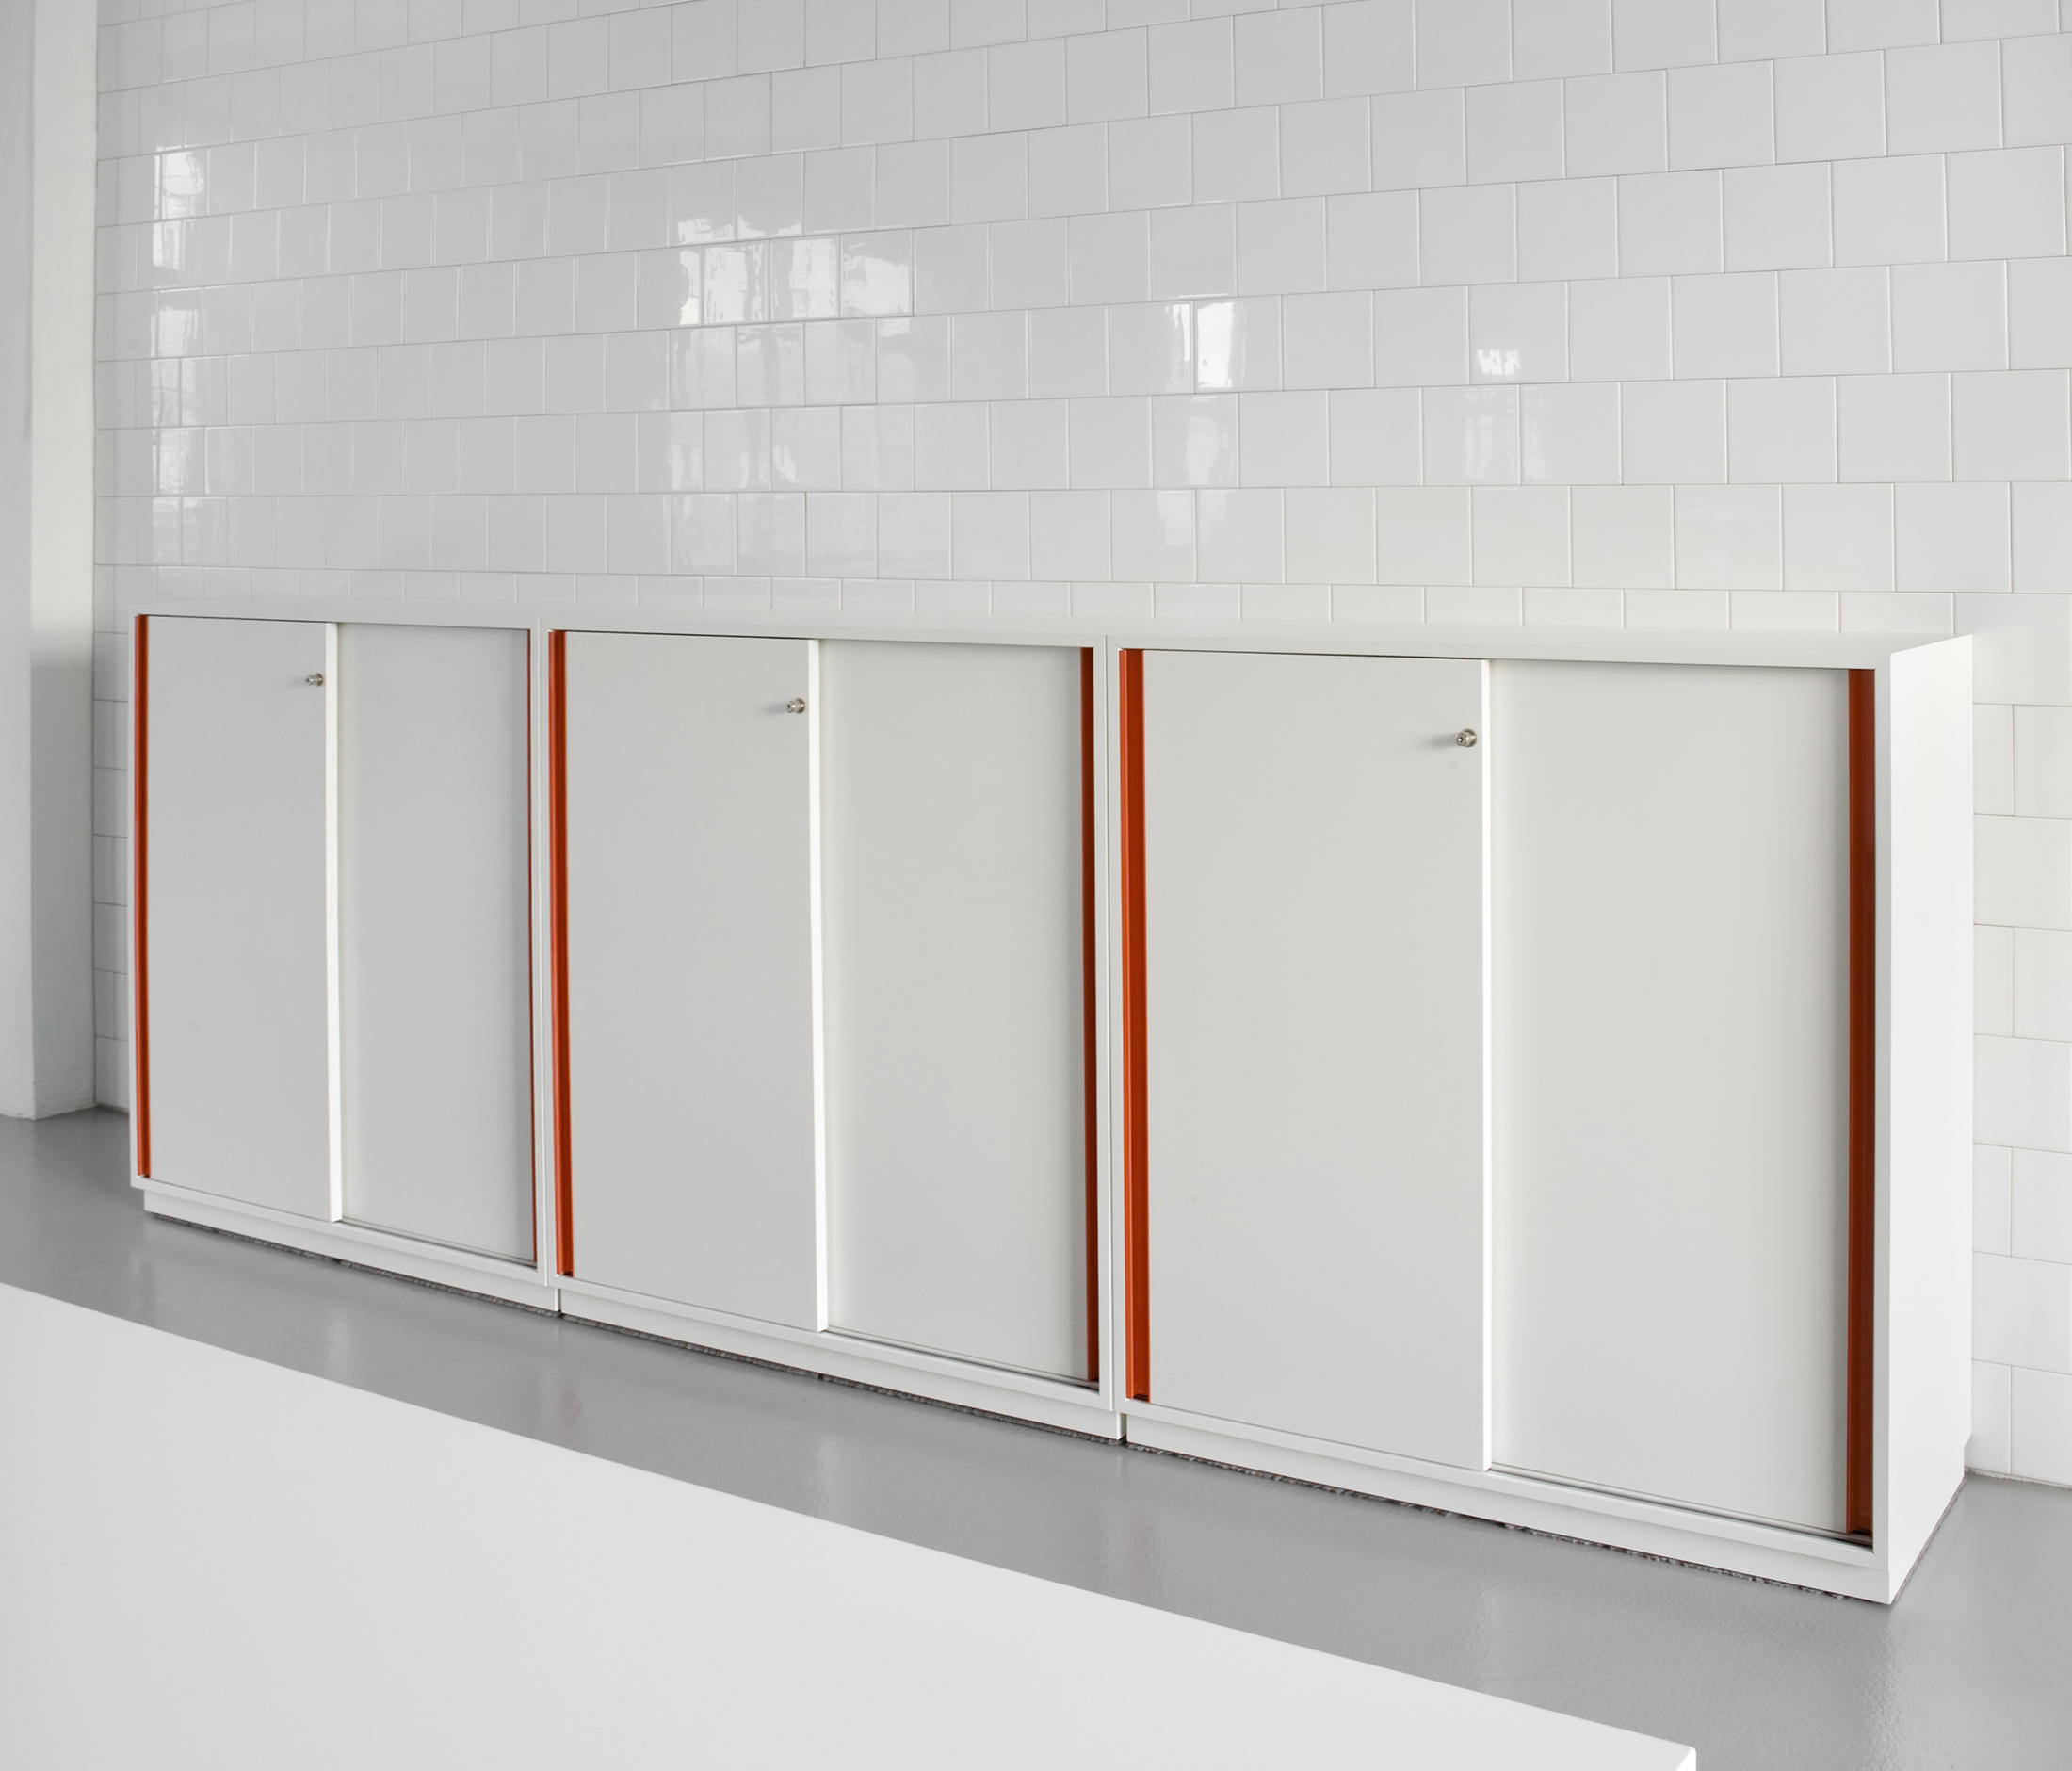
Bypass Sliding Cabinet Doors
Bypass doors, the workhorses of sliding door systems, slide past each other along a track. This design is perfect for maximizing space and minimizing the swing arc needed for traditional doors. Imagine a pair of doors smoothly gliding side-by-side, effortlessly accessing your neatly organized kitchenware. The simplicity of their mechanism makes them a popular and readily accessible choice.
How to install sliding cabinet doors – Diagram: Two doors are mounted on parallel tracks. One door slides to the left, the other to the right. They overlap slightly in the center when closed, allowing complete access to the cabinet contents when either door is fully opened.
Pocket Sliding Cabinet Doors
These doors disappear completely into the wall cavity when opened, offering a truly seamless and space-saving solution. Think of the clean lines and minimalist aesthetic – a pocket door system adds a touch of modern elegance to your kitchen or bathroom. However, this elegance requires careful planning and a properly sized wall cavity.
Diagram: A single door slides into a recessed cavity within the wall, leaving the cabinet opening completely unobstructed when open. The track system is hidden within the wall.
Barn Door Sliding Cabinet Doors
Adding a rustic charm to your cabinetry, barn doors hang from an overhead track, offering a visually striking and functional solution. They’re perfect for adding a touch of character and personality to your space, particularly in rooms with a farmhouse or rustic design theme. The visible track adds to their unique appeal.
Diagram: A single door (or sometimes two) hangs from a track mounted on the top of the cabinet frame. The door slides along the track, revealing the cabinet contents.
Comparison of Sliding Cabinet Door Types
Choosing the right sliding door hinges on your needs and space constraints. Below is a comparison table to help guide your decision. Remember, these are estimates and actual times may vary based on your experience and the complexity of your installation.
| Door Type | Tools Needed | Difficulty Level | Estimated Time |
|---|---|---|---|
| Bypass | Tape measure, level, drill, screws, track system, doors, safety glasses | Medium | 2-4 hours |
| Tape measure, level, drill, screws, jigsaw (possibly), pocket door hardware kit, doors, safety glasses | Hard | 4-8 hours (may require additional carpentry skills) | |
| Barn Door | Tape measure, level, drill, screws, barn door hardware kit, doors, safety glasses | Medium | 3-5 hours |
Advantages and Disadvantages of Each Door Type
Each door type presents a unique set of advantages and disadvantages. Careful consideration of these factors will ensure a successful and satisfying installation.
Bypass Doors: Advantages: Cost-effective, relatively easy to install, space-saving. Disadvantages: Requires sufficient space alongside the cabinet for doors to slide.
Pocket Doors: Advantages: Maximizes space, clean aesthetic. Disadvantages: Requires pre-existing wall cavity, more complex installation, higher cost.
Barn Doors: Advantages: Unique aesthetic appeal, relatively easy installation, can be used on cabinets without adjacent wall space. Disadvantages: Can be more expensive than bypass doors, visible track.
Installing a Bypass Sliding Cabinet Door: A Step-by-Step Guide
Let’s walk through the installation of a bypass sliding door. This is a rewarding project that transforms your cabinetry with elegance and efficiency. Remember safety first! Always wear safety glasses and use appropriate tools.
- Measure and Mark: Carefully measure the cabinet opening and mark the locations for the track system, ensuring it’s level.
- Install the Track: Securely attach the top track to the cabinet frame using screws and a level, ensuring it’s perfectly aligned.
- Attach Rollers to Doors: Mount the rollers onto the back of each door, following the manufacturer’s instructions.
- Hang the Doors: Carefully lift and hang the doors onto the track, ensuring they slide smoothly.
- Adjust and Test: Make any necessary adjustments to ensure smooth operation and even spacing between doors.
Illustration (Step 1): A close-up shows a tape measure accurately measuring the cabinet opening. A pencil marks the locations for the track on the cabinet frame. A level is positioned to ensure accurate placement.
Illustration (Step 2): The top track is securely fastened to the cabinet frame using screws. A level is used to verify the track’s levelness.
Illustration (Step 3): Rollers are carefully attached to the back of each door using the provided hardware and instructions.
Illustration (Step 4): The doors are gently lifted and hung onto the track. The smooth gliding of the doors is checked.
Illustration (Step 5): Fine adjustments are made to the roller placement to ensure smooth and even sliding of the doors. The final spacing between doors is verified.
Measuring and Preparing for Installation: How To Install Sliding Cabinet Doors

Embarking on the installation of your sliding cabinet doors is an exciting step towards transforming your kitchen or bathroom. Accuracy in measurement and meticulous preparation are the cornerstones of a successful project, ensuring a flawless fit and a beautiful, functional end result. A little time spent on these initial steps will save you headaches and potential costly mistakes down the line. Let’s dive into the details.
Accurate Measurements: Cabinet Openings and Door Dimensions
Precise measurements are paramount. Begin by carefully measuring the width and height of the cabinet opening where the doors will be installed. Use a measuring tape and ensure the measurements are taken at multiple points, both horizontally and vertically, to account for any inconsistencies in the cabinet framing. Record these measurements meticulously. Next, measure the width and height of each door panel. Remember to include any decorative trim or edge details in your measurements. Compare the door dimensions to the cabinet opening dimensions; the doors should ideally be slightly smaller than the opening to allow for smooth operation and prevent binding. A gap of 1/8 to 1/4 inch on each side is generally recommended. Always double-check your measurements before proceeding.
Cabinet Preparation: Cleaning and Surface Adjustments
Before installation, thoroughly clean the cabinet surfaces where the doors and tracks will be mounted. Remove any dust, debris, or old adhesive residue. This clean surface ensures proper adhesion of the mounting hardware. Inspect the cabinet for any irregularities, such as uneven surfaces or damaged areas. Minor imperfections can be addressed with wood filler or sanding. Ensure that the cabinet framing is sturdy and level. If necessary, use shims to level any uneven surfaces before mounting the track system. This step prevents the doors from binding or tilting during operation.
Hardware Selection: Tracks, Rollers, and Handles
Selecting the right hardware is crucial for the smooth and reliable operation of your sliding doors. The weight of the doors will determine the type of rollers and track system required. Heavier doors require more robust rollers and tracks designed to support the increased weight. Consider the overall size of your cabinet and the door dimensions when choosing the length of the track. The track should extend beyond the cabinet opening on both sides to provide sufficient support and allow for smooth sliding movement. Choose handles that complement your cabinet style and are comfortable to grip.
Installation Checklist: A Step-by-Step Guide
Careful planning and a methodical approach will ensure a seamless installation. Here’s a checklist to guide you through the process:
- Clean and prepare the cabinet surfaces.
- Accurately measure the cabinet opening and door dimensions.
- Select appropriate hardware (tracks, rollers, handles) based on door weight and cabinet size.
- Attach the track system securely to the cabinet, ensuring it’s level.
- Install the rollers on the doors, following the manufacturer’s instructions.
- Carefully hang the doors onto the track system.
- Adjust the rollers as needed to ensure smooth sliding operation.
- Attach the handles.
- Test the operation of the doors, making any necessary adjustments.
Following these steps meticulously will significantly reduce the chances of encountering common issues such as misaligned doors, binding, or difficulty in operation. Remember, patience and attention to detail are key to a successful installation.
Installation Process and Troubleshooting
The moment of truth has arrived! After careful measuring and preparation, you’re ready to transform your cabinets with the sleek elegance of sliding doors. This process, while rewarding, requires precision and patience. Don’t worry, though; with a methodical approach and a little troubleshooting know-how, you’ll be gliding those doors open and shut in no time.
The installation hinges on accurately attaching the track system and ensuring the doors hang smoothly and effortlessly. Each step builds upon the previous one, so take your time and double-check your work at every stage. A little extra care now will save you potential headaches later.
Installing the Track System, How to install sliding cabinet doors
Begin by securing the top track to the cabinet face. This is typically done using screws, and the exact placement will depend on your specific track design. Ensure the track is perfectly level – use a level to verify its alignment. A slightly uneven track can lead to frustrating door operation later. Once the top track is securely fastened, carefully slide the rollers into the track, ensuring they move freely.
Next, install the bottom track, if applicable to your system. This often serves as a guide for the doors, preventing them from swinging or tilting. Again, levelness is crucial. Accurate placement of both the top and bottom tracks is fundamental to a smoothly functioning sliding door system. Tighten all screws firmly, but avoid over-tightening, which can strip the wood or damage the track.
Hanging the Doors
Hanging the doors is a delicate operation. Carefully lift each door and align the rollers with the top track. Gently slide the doors into place. If your system uses a bottom track, ensure the bottom rollers are correctly aligned. A slight adjustment may be necessary to ensure smooth movement. Once both doors are in place, gently test their movement. They should glide effortlessly along the tracks.
Adjusting Rollers
Minor adjustments to the rollers are often necessary. Most roller systems allow for height and lateral adjustments. If a door is binding or sticking, you may need to slightly raise or lower the rollers using the adjustment screws. If the door is misaligned, adjust the lateral position of the rollers. These tiny adjustments can significantly impact the smoothness of the doors’ operation. Remember, a little goes a long way, so make incremental adjustments and test frequently.
Troubleshooting Common Problems
Even with careful installation, some minor issues can arise. Here are some common problems and their solutions:
| Problem | Solution |
|---|---|
| Misaligned Doors | Adjust the roller height and lateral position. Ensure the tracks are level. |
| Sticking Doors | Check for obstructions in the track. Lightly lubricate the rollers with silicone-based lubricant. Ensure the doors are not rubbing against the cabinet frame. |
| Noisy Rollers | Lubricate the rollers with a silicone-based lubricant. Check for any loose screws or damaged parts. |
| Doors Not Closing Completely | Check that the track is properly aligned and level. Adjust the rollers to ensure proper engagement with the track. |

